


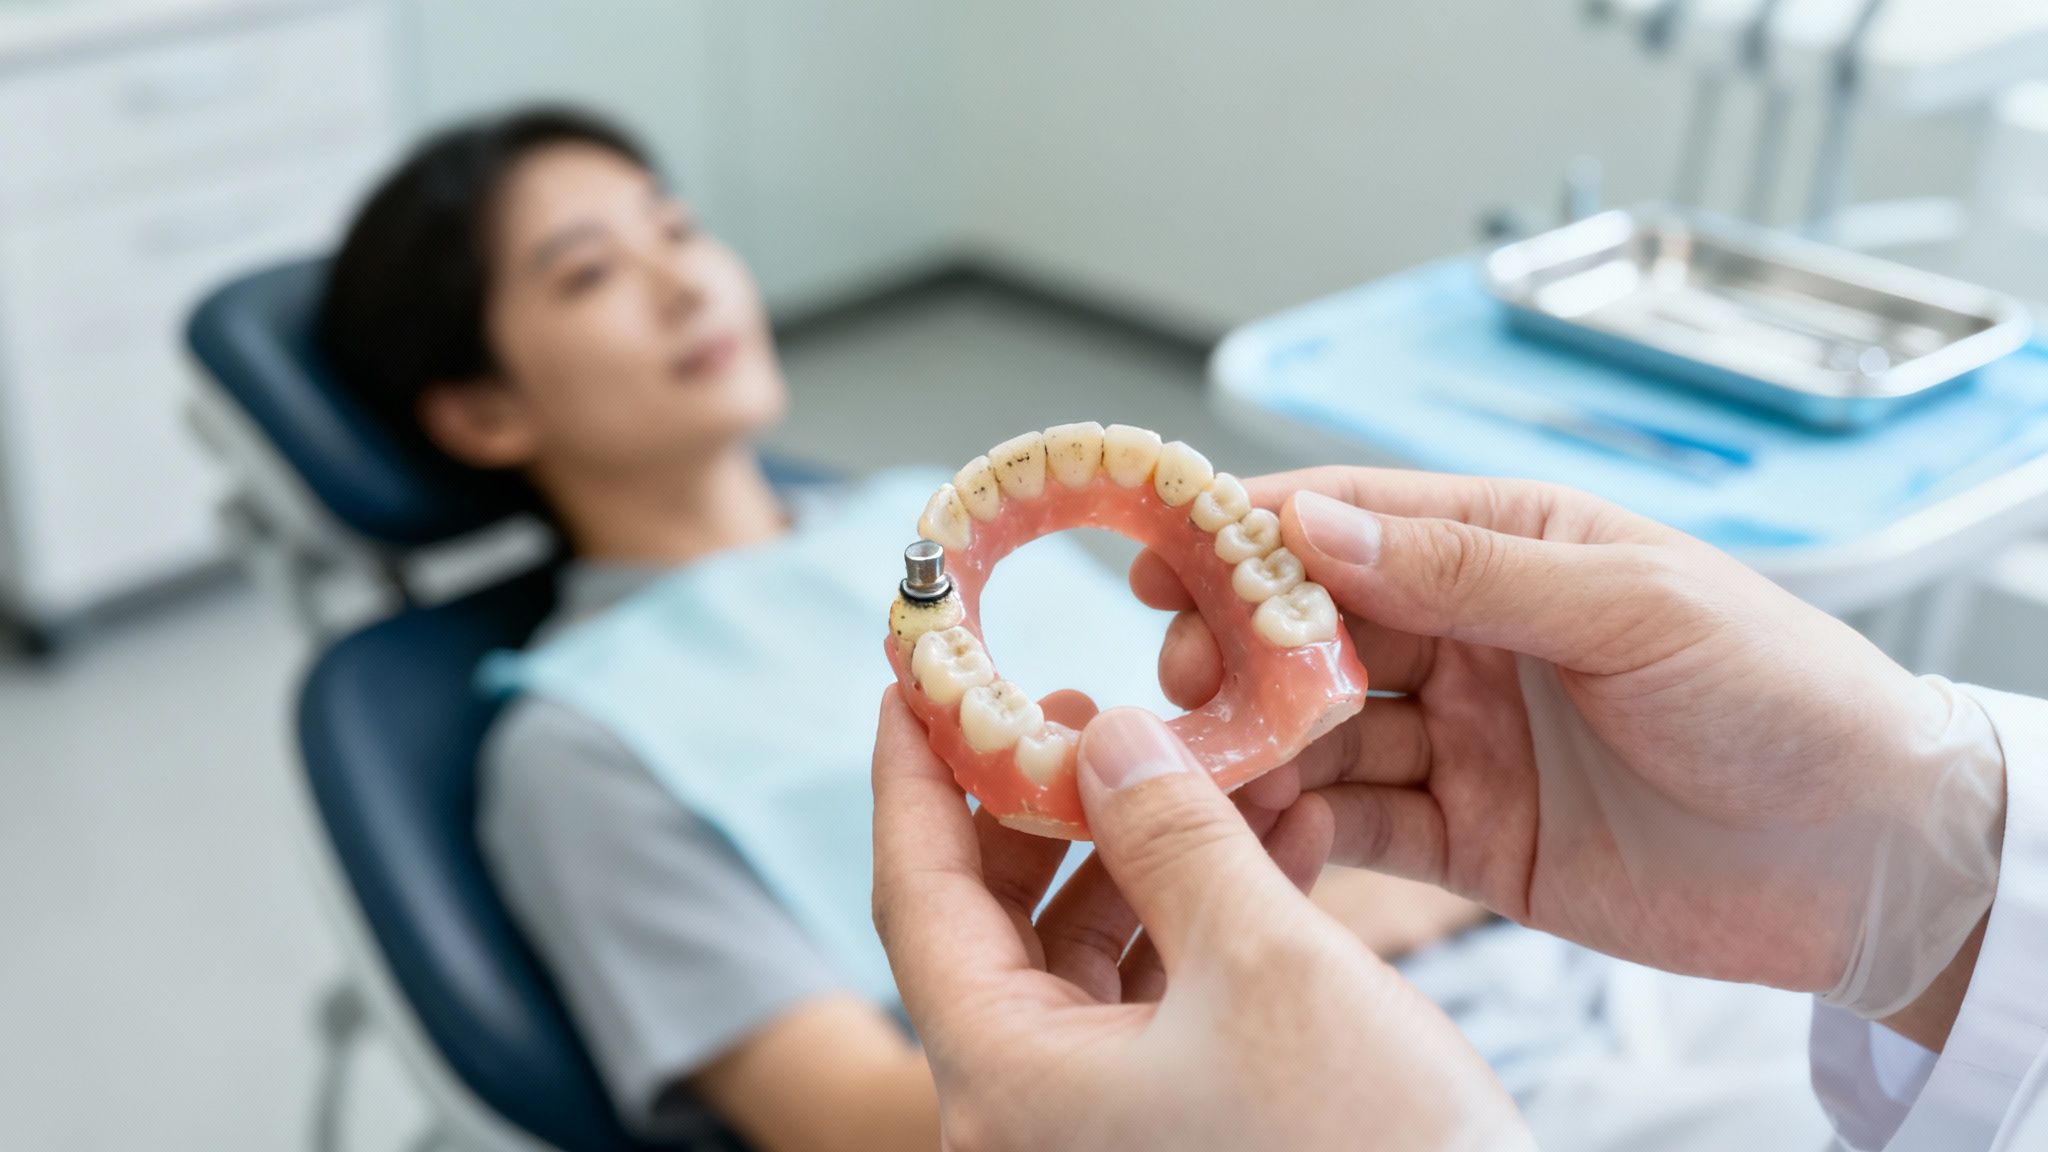
A Clinical Guide to Replacing Locator Inserts (Locator Einsätze Tauschen)
Replacing Locator inserts (locator einsätze tauschen) is a fundamental procedure in the routine maintenance of implant-supported overdentures. While straightforward, this clinical task is critical for restoring prosthesis stability and function, directly impacting long-term patient satisfaction and the integrity of the entire implant system. Mastering this process is a key pillar of predictable, long-term prosthetic care.
Why Replacing Locator Inserts Is a Clinical Necessity
Changing Locator retention inserts is not merely a repair; it is a core component of proactive prosthetic maintenance. For dental professionals, recognizing the clinical indicators for replacement is essential for the long-term success of implant overdentures and for maintaining patient trust. This scheduled upkeep prevents minor patient complaints from escalating into more significant clinical issues, such as accelerated abutment wear or compromised prosthetic function.
By regularly assessing and replacing these components, clinicians reinforce the value of the initial implant therapy. This demonstrates a commitment to ongoing care that patients appreciate, ensuring their prosthesis functions optimally for years.
Identifying the Need for Replacement
Often, the initial indication comes directly from the patient, who may report that their overdenture feels "loose," "wobbly," or no longer "clicks" securely into place. This subjective feedback is a valuable diagnostic tool and should prompt an immediate clinical evaluation of the retention system.
During routine examinations, a visual and tactile inspection provides objective data. Clinicians should look for signs of material fatigue in the nylon insert, such as discoloration, fraying, or visible thinning of the retentive ring. A simple manual test, applying gentle lifting pressure to the seated denture, can quickly reveal a clinically significant loss of retention.
A proactive approach to insert replacement is a cornerstone of successful overdenture management. It shifts the focus from reactive problem-solving to scheduled maintenance, which ultimately enhances prosthetic longevity and the patient's quality of life.
The Consequences of Delayed Replacement
Postponing the replacement of worn inserts can initiate a cascade of negative clinical outcomes. For the patient, a poorly retained prosthesis can cause discomfort, impair masticatory function, and lead to social embarrassment.
Clinically, a loose fit permits excessive micromovement between the denture housing and the abutment. This chronic friction accelerates wear on the Locator abutment itself—a more complex and costly component to replace. You can explore the mechanics of this interaction in our article on the parameters determining micromotion at the implant-abutment interface.
Furthermore, this instability can transmit undue stress to the dental implants and surrounding bone, potentially compromising the long-term stability of osseointegration.
A Standard Procedure in Prosthetic Care
The practice of replacing Locator retention inserts is a well-established and frequent procedure in prosthodontics. Data from dental practices indicate that replacing these retention rings is the most common maintenance procedure for these systems. Estimates suggest that over 70% of all maintenance interventions on Locator-retained prostheses involve changing these elements, typically every 12 to 24 months, depending on patient factors.
By vigilantly monitoring the wear of these vital components, clinicians ensure the entire implant system functions at its peak. Alfa Gate's precision-engineered prosthetic components are designed for both durability and ease of maintenance, supporting predictable outcomes and ensuring long-term prosthetic health.
Assembling Your Toolkit for Insert Replacement
An efficient insert replacement (locator einsätze tauschen) is contingent on proper preparation. Having the correct instruments organized minimizes chair time and ensures a predictable outcome. The procedure is straightforward but relies on using tools specifically designed for the system.
The essential instrument for this task is the Locator Core Tool. This three-in-one instrument is indispensable. One end is engineered to engage and remove the old insert from its metal housing, while the opposing end is designed to securely pick up and seat the new insert with firm, even pressure.
Essential Instruments for the Procedure
For a routine chairside replacement, the required setup is minimal. The objective is to remove the old component and seat the new one without damaging the denture housing or the abutment.
Your basic instrument tray should include:
- Locator Core Tool: The primary instrument for both removal and insertion of the nylon males.
- Replacement Locator Inserts: A comprehensive selection of Alfa Gate inserts is crucial for adjusting retention levels based on clinical needs.
- Dental Explorer or Scaler: Essential for cleaning accumulated debris from the metal denture housing after the old insert is removed.
- Gauze and Disinfectant: For maintaining asepsis of the prosthesis and components.
- Adequate Lighting and Magnification: Loupes and a good light source are critical for inspecting for debris and confirming the new insert is perfectly seated.
This simple chairside task differs significantly from more involved procedures like abutment placement, which requires a torque wrench and system-specific drivers. For a versatile instrument that handles a broader range of prosthetic tasks, the Alfa-Lock Multi Tool is an excellent addition to any dental practice.
Selecting the Correct Alfa Gate Replacement Inserts
Choosing the appropriate replacement insert is a critical clinical decision that directly influences patient comfort and overdenture function. Alfa Gate simplifies this process with a color-coded system where each color corresponds to a specific level of retention force and angulation correction.
Familiarity with this system allows clinicians to move beyond a one-size-fits-all approach. Key considerations include the patient's manual dexterity, the number and position of implants, and the degree of implant divergence. For example, an elderly patient with limited dexterity may require a lower retention force, while a patient with strong masticatory forces may need a more retentive option for stability.
The clinical objective is to achieve a balance: sufficient retention for stability during function, but not so much that the patient struggles with daily removal for hygiene.
To facilitate an informed decision at the chairside, the following guide outlines the specifications of Alfa Gate Locator inserts.
Alfa Gate Locator Retention Insert Selection Guide
This table details the color-coded inserts, their corresponding retention forces, and their primary clinical applications.
| Insert Colour | Initial Retention Force (Newtons) | Angulation Correction | Primary Clinical Indication |
|---|---|---|---|
| Clear | 22 N (5.0 lbs) | 0-10 degrees | Ideal for patients needing maximum retention. Best used in cases with good parallelism and strong masticatory forces. |
| Pink | 13 N (3.0 lbs) | 0-10 degrees | A standard, moderate retention level that’s a great starting point for most routine cases. A good balance of stability and ease of removal. |
| Blue | 6.5 N (1.5 lbs) | 0-10 degrees | A light retention option. Excellent for patients with reduced dexterity or those who are sensitive to high removal forces. |
| Green | 18 N (4.0 lbs) | 10-20 degrees | An extended-range option for cases with significant implant divergence, providing moderate retention. |
| Red | 4.5 N (1.0 lbs) | 10-20 degrees | The lightest extended-range option. Designed for severely angled implants where ease of path of insertion is the top priority. |
Mastering the selection of these inserts can dramatically improve the long-term success of the overdenture and patient satisfaction. Maintaining a full inventory of these replacements ensures preparedness for any clinical scenario.
The Clinical Workflow for Exchanging Locator Inserts
A proficient technique for changing locator inserts (locator einsätze tauschen) transforms a routine maintenance task into a smooth, reliable procedure that builds patient confidence. This process requires a steady hand, a keen eye, and a methodical approach to ensure the new insert functions perfectly. Success hinges on attention to detail at each stage.
The clinical workflow consists of three key stages: removing the worn insert, inspecting the housing, and seating the new component.
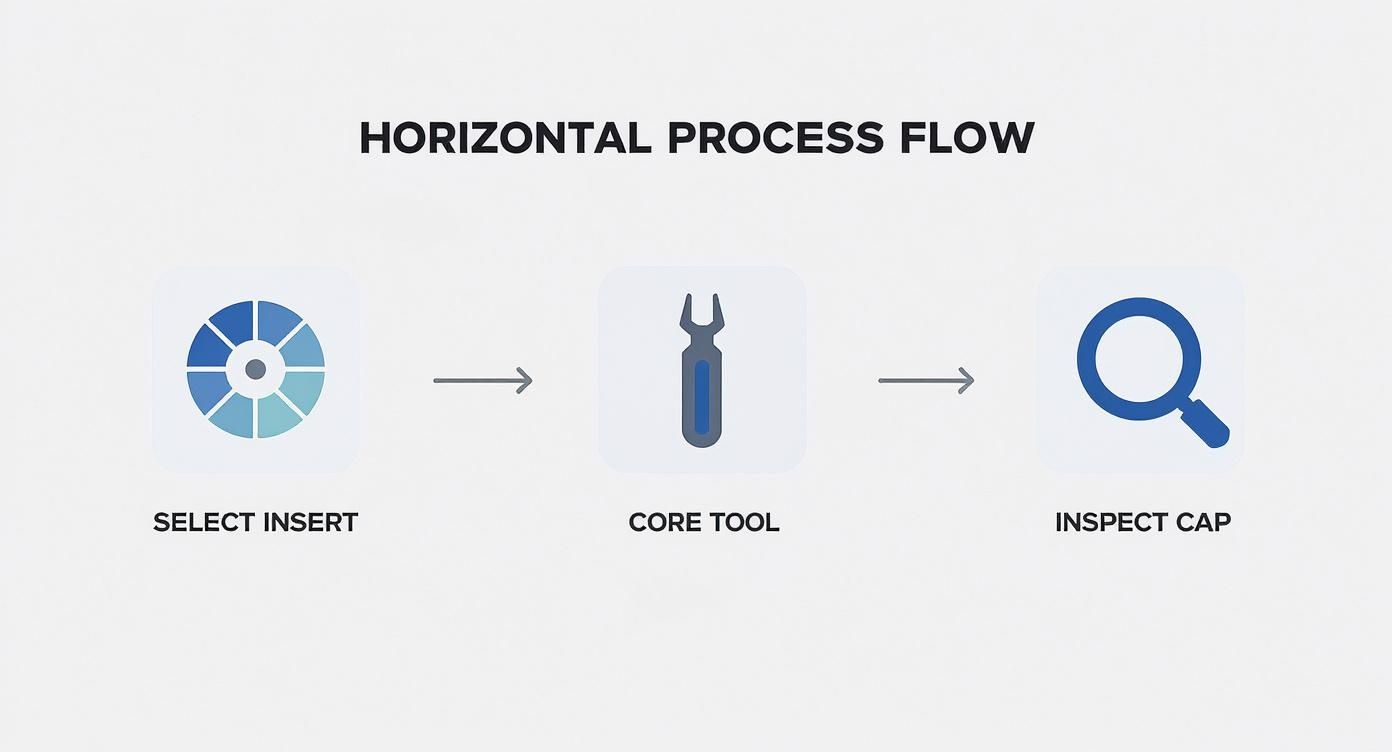
This systematic process underscores that clinical success is achieved through a consistent, quality-focused sequence.
Removing the Worn Insert
The first step is the removal of the old insert. The Locator Core Tool features an angled tip designed to engage the inner rim of the nylon male.
Seat the removal tip securely inside the insert. A gentle but firm upward pressure, often combined with a slight rotational movement, is typically sufficient to dislodge the insert from the metal denture housing.
In clinical practice, inserts that have been in place for an extended period may become brittle or resistant. It is critical to avoid excessive force, which can damage the surrounding acrylic or the housing itself. Instead, use firm, controlled pressure, ensuring the tool is fully engaged. A slow rocking motion can often help break the frictional seal.
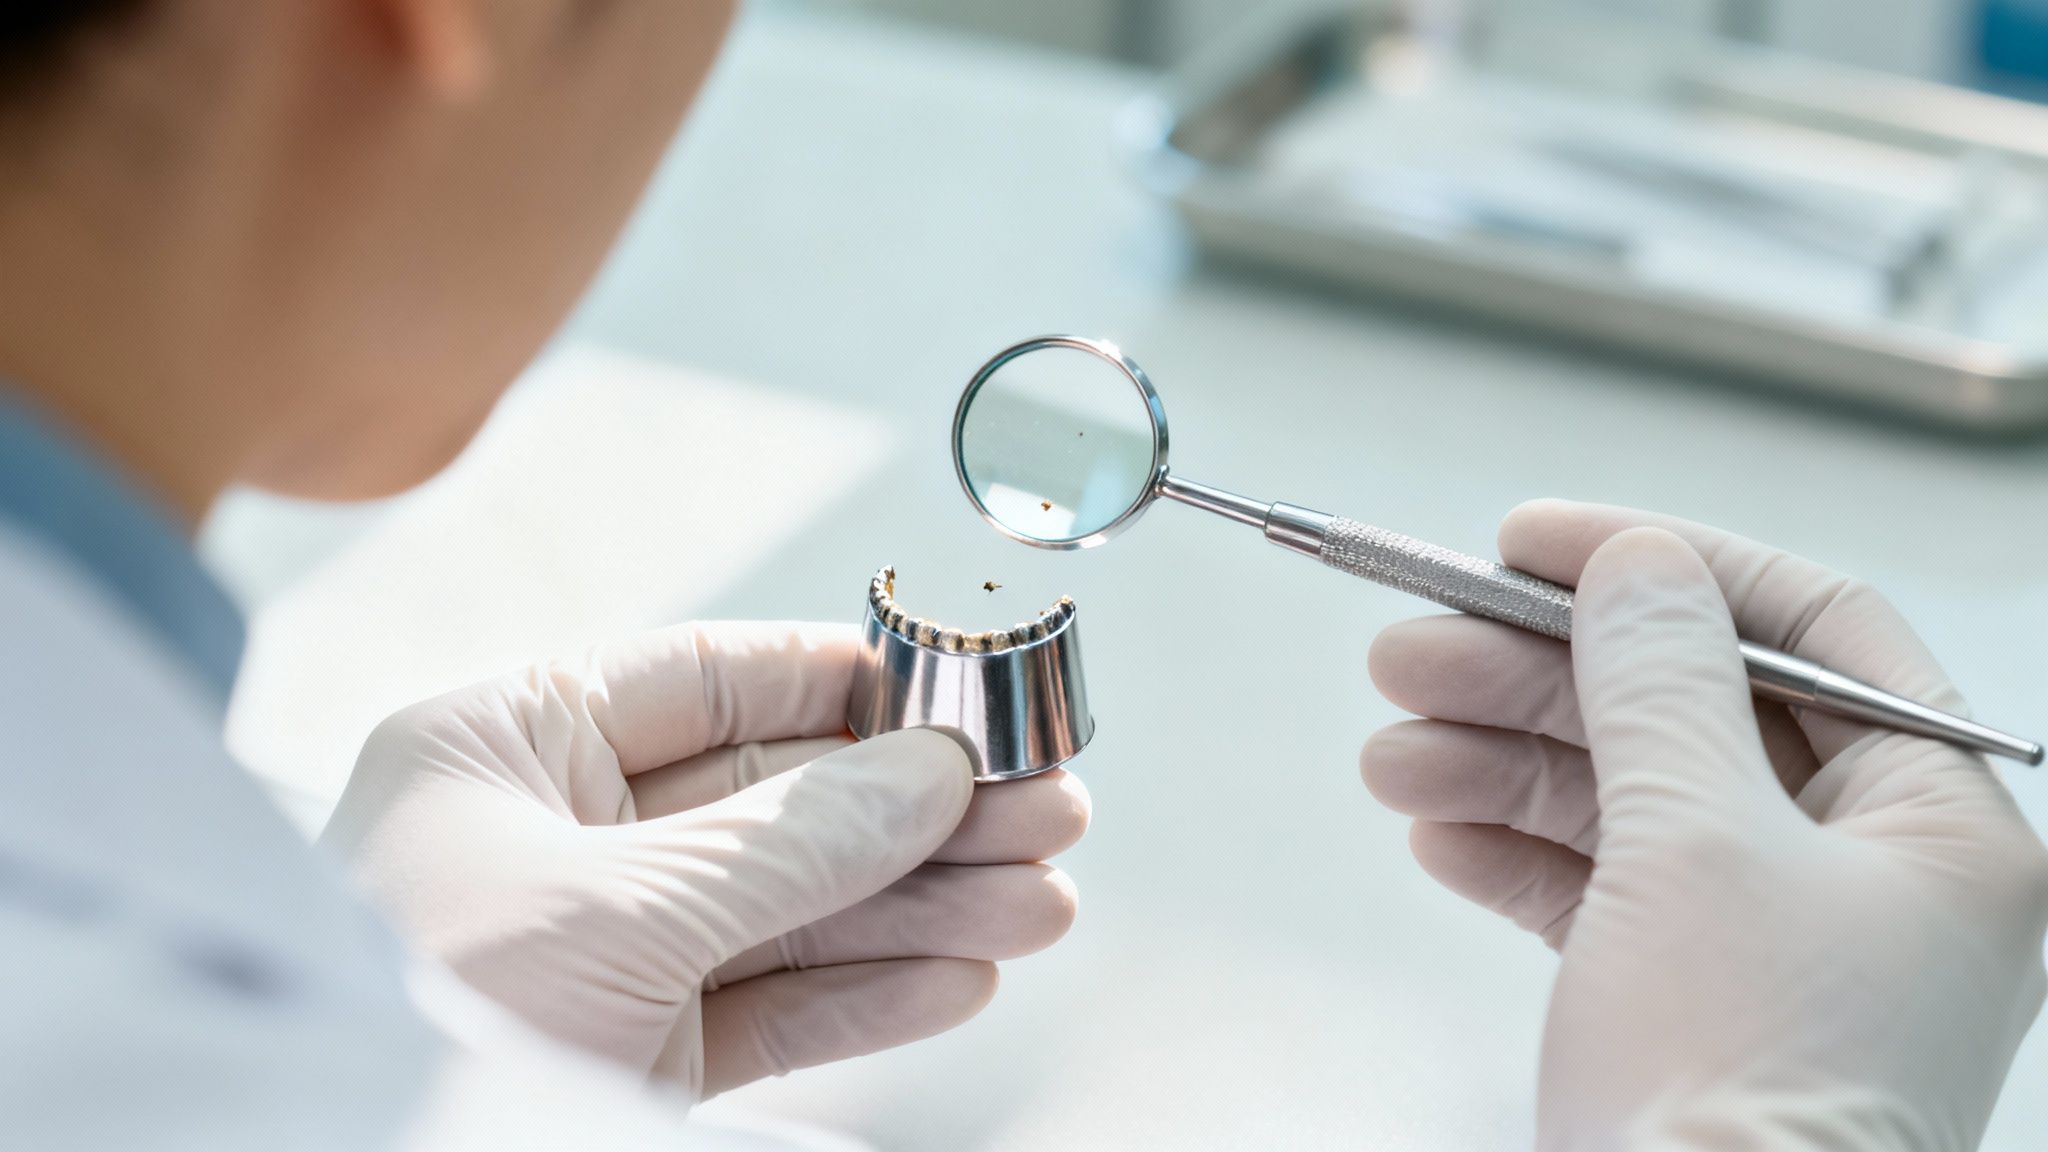
Inspecting the Denture Housing
Once the old insert is removed, the most critical step for the longevity of the new component begins. The metal denture housing must be meticulously cleaned and inspected. Any retained debris will prevent the new insert from seating properly, leading to premature wear, poor retention, and a return visit from the patient.
Use a dental explorer or a micro-brush to gently remove any plaque, calculus, or residual adhesive from within the housing. Pay close attention to the internal groove where the insert's retentive ring must engage. Proper magnification and lighting are indispensable for confirming the housing is completely clean.
During this inspection, perform a quick structural check:
- Look for deformations: Is the housing still perfectly circular? Any warping will compromise the fit.
- Check for micro-fractures: Examine the acrylic around the housing for hairline cracks, which may indicate a loose housing.
- Confirm stability: Gently probe the housing with an instrument to ensure it is securely bonded within the denture base.
A clean, intact housing is the foundation for a successful replacement. Taking an extra 30 seconds to verify its condition can prevent hours of follow-up adjustments and troubleshooting down the line.
Seating the New Locator Insert
With a clean and sound housing, you are ready to place the new insert. Use the opposite end of the Locator Core Tool, which is designed to pick up and seat the new nylon male.
Press the seating end of the tool onto the top of the selected insert. It should snap securely onto the tool, facilitating accurate transport and placement into the denture housing.
Position the insert directly over the empty housing and apply firm, vertical pressure. A distinct "click" should be heard as the insert fully seats. This audible confirmation indicates that the retentive ring has snapped into its groove within the housing.
If no click is heard, the insert is likely not fully seated. Remove it and attempt re-insertion, ensuring the angle is perfectly aligned with the housing. An incompletely seated insert will fail prematurely and provide inadequate retention. For a wide range of prosthetic solutions that complement this system, explore the options on our prosthetics product page.
Finally, perform a visual and tactile check. The top of the insert should be perfectly flush with the rim of the metal housing. Run a dental explorer across the surface to confirm there are no raised edges. Following this meticulous workflow ensures every locator einsätze tauschen procedure is successful. If you are a distributor interested in providing these high-quality components to your clients, we invite you to become an Alfa Gate distributor and partner with us.
Fine-Tuning Retention for Every Patient
Optimizing retention for an implant-supported overdenture is a clinical skill that balances stability with patient comfort. The goal is not maximum tightness, but rather a functional level of stability that meets the patient's daily needs while allowing for easy removal. Achieving this balance has a significant impact on patient satisfaction and the longevity of the entire prosthesis.
Every case presents unique variables. Understanding these factors allows the clinician to move beyond a generic approach and deliver a truly customized solution.
Key Factors in Selecting Retention
The clinical reasoning behind retention force is multifactorial. Implant angulation, the number of implants, and the patient's masticatory force all influence how the inserts perform and wear over time.
- Implant Angulation: Divergent implants create a challenging path of insertion and removal. Using high-retention inserts in such cases places excessive stress on both the abutments and the inserts, leading to premature wear. Extended-range inserts (Green or Red) are specifically designed to accommodate this divergence.
- Number of Implants: A prosthesis supported by four implants distributes occlusal loads more evenly than one on two implants. With greater support, lower-retention inserts (e.g., Blue) can often achieve excellent stability without making denture removal difficult for the patient.
- Patient Bite Force: Patients with strong musculature exert greater force on the inserts during function, accelerating wear. For these individuals, starting with a more durable, higher-retention option (Clear or Pink) is often a prudent clinical choice.
The clinical goal is to use the lowest level of retention that provides the necessary stability. This "as much as necessary, as little as possible" approach minimizes component wear and improves the patient's experience.
Advanced Strategies for Customising Stability
An effective technique for achieving ideal retention is to combine different insert strengths within the same prosthesis. This approach provides exceptional flexibility to create a personalized fit that addresses the unique implant configuration and patient needs.
For example, consider a patient with two parallel posterior implants and two angled anterior implants. A clinician could place moderate-retention Pink inserts in the posterior housings for primary stability, and lighter-retention Blue inserts in the anterior. This combination ensures the denture is secure during mastication yet remains easy to seat and remove. Our full line of Alfa-Lock Plastic Caps is designed to provide this level of clinical flexibility.
The Inevitable Impact of Wear
The nylon material in Locator inserts is designed to be a sacrificial component, wearing down over time to protect the more permanent titanium abutment. This wear is an expected part of the system's function, but its effect on retention must be understood.
A 2015 study from the University of Halle demonstrated that the retention force of inserts can decrease by 40-60% after approximately 10,000 loading cycles, simulating 18 to 24 months of clinical use.
The study also found that Clear inserts, with the highest initial retention (25.30 N), retained their force more effectively over time compared to lower-retention options. After the loading cycles, the Clear inserts still provided 5.63 N of retention, confirming their durability for patients requiring a stronger, more lasting grip. You can review the full study to better understand the clinical implications of insert wear patterns.
Patient Education: The Missing Piece of the Puzzle
Long-term success is highly dependent on effective patient education. A few minutes spent explaining proper prosthesis handling and hygiene can dramatically extend the life of the inserts and prevent complications.
Instruct patients to use bilateral pressure with their thumbs when removing the denture, avoiding prying from one side, which can damage the inserts or housing. Reinforce the importance of daily cleaning, as plaque accumulation on the denture and abutments can impede proper seating and accelerate wear.
When careful clinical selection is combined with clear patient communication, every locator einsätze tauschen procedure can result in a stable, comfortable, and successful long-term outcome.
Troubleshooting Common Clinical Scenarios
Even a routine chairside locator einsätze tauschen can present clinical challenges. A prepared clinician anticipates these issues and has a clear resolution plan. This section provides actionable advice for managing the most common complications during insert replacement, enabling a swift restoration of function.
Addressing these minor issues effectively not only solves the clinical problem but also builds patient confidence in their treatment and your expertise.
Scenario One: The Insert Will Not Seat Correctly
If a new insert will not click into place, do not force it. This can damage the housing or fracture the denture base. The correct initial response is to stop and investigate.
The most common cause is microscopic debris lodged in the internal groove of the metal housing. Even a minuscule speck of calculus or residual adhesive can prevent the insert's retentive ring from engaging. Use a sharp explorer and magnification to meticulously re-inspect and clean the housing interior.
A less common cause is a slight deformation of the housing. If a patient has been functioning with a very loose insert for an extended period, uneven forces can warp the housing. In this case, the housing itself must be replaced—a more involved procedure that may require laboratory support.
Scenario Two: The Patient Reports Unchanged or Excessive Retention
After replacement, patient feedback is the final quality control check. The patient may report that the denture still feels loose or that it is now uncomfortably tight. Both situations require a systematic diagnostic approach.
If the Denture Is Still Too Loose
- Verify Seating: First, ensure the new insert is fully seated. Use an explorer to trace the rim; it should be perfectly flush with the housing. An incompletely seated insert is a primary cause of poor retention.
- Inspect the Abutment: If the insert is seated correctly, the issue is likely with the Locator abutment itself. Closely examine its retentive surfaces for signs of wear, such as flattening or an overly polished appearance, which indicate the loss of the defined retentive ledge. A new insert cannot compensate for a worn-out abutment.
- Check the Prosthesis: Finally, assess the stability of the denture itself. A poor fit between the denture base and the patient’s soft tissue can mimic the sensation of poor retention.
If the Denture Is Too Tight
This is typically a straightforward issue to resolve. It usually indicates that the chosen insert's retention level is too high for the patient's dexterity or the specific implant angulation. The solution is to replace it with the next level down in retention—for example, switching from a Pink (13 N) to a Blue (6.5 N) insert. Patient education is also key; reassure them that a new insert often feels tighter initially and will "break in" over the first few days.
A critical diagnostic takeaway is that persistent retention issues, despite a new and properly seated insert, almost always point to wear on the Locator abutment. Addressing the root cause by replacing the abutment is the only path to a predictable long-term outcome.
Scenario Three: The Old Insert Is Stuck
Occasionally, a worn insert may fracture during removal or become so compressed that it resists the removal tool. Avoid using brute force. Instead, a fine-tipped ultrasonic scaler on a low setting can often vibrate the fragment loose.
Alternatively, a sharp, sturdy explorer can sometimes be used to carefully work the remaining piece out. Patience is key. Work methodically to protect the integrity of the housing. Once the fragment is removed, perform a thorough cleaning and inspection of the housing.
For any questions on specific components or more complex clinical cases, please don't hesitate to contact our team of experts.
Frequently Asked Questions
To help refine your technique for the locator einsätze tauschen procedure and better manage patient expectations, here are answers to the questions we hear most often from clinicians.
How Often Should I Replace Locator Inserts?
While a general guideline is every 12 to 24 months, this should not be a rigid schedule. Clinical performance is influenced by factors such as patient bite force, diet, and parafunctional habits (e.g., bruxism), which can significantly shorten insert lifespan.
The best practice is a hands-on evaluation at every recall appointment. The decision to replace inserts should be based on clinical assessment and patient feedback, not a predetermined timeline.
Can I Use Different Colour Inserts in the Same Overdenture?
Yes, absolutely. This is often an excellent clinical strategy for customizing stability and enhancing patient comfort. Mixing retention levels allows the clinician to tailor the prosthesis to the patient’s specific anatomical and functional needs.
For instance, in a case with angled anterior implants and parallel posterior implants, higher-retention Pink inserts could be used posteriorly for a solid masticatory foundation, while lighter Blue inserts are placed anteriorly. This creates an easier path of insertion and simplifies removal for the patient, balancing function with usability.
This tailored approach demonstrates a deeper understanding of prosthetic dynamics and directly solves a patient's individual need for both stability and ease of handling.
Why Is the Denture Still Loose After Replacing the Insert?
If a new insert fails to improve retention, a diagnostic sequence is required. The most common cause is incomplete seating of the new insert within its metal housing. Confirm it is fully and evenly seated.
If seating is correct, shift your focus to the Locator abutment. Inspect it closely for signs of wear—a polished, flattened, or rounded retentive surface. Also, check the acrylic around the housing for micro-fractures and confirm the housing remains securely bonded.
What Indicates the Abutment Itself Needs Replacing?
Visible wear on the abutment’s retentive surfaces is the primary indicator. A new abutment has a distinct, sharply defined retentive ring. A worn abutment will appear flattened and shiny, having lost this crisp edge.
When significant surface loss is evident, the abutment can no longer effectively engage the nylon insert. At this point, no new insert, regardless of its retentive force, will resolve the issue. Replacing the abutment is the necessary clinical step to restore proper function.
At Alfa Gate, we are committed to providing the highest quality implant systems and prosthetic components to help you achieve clinical excellence. To explore our complete range of innovative dental solutions and partner with us in delivering predictable, long-term patient results, please contact our team or visit us at https://www.alfa-gate.us.